Ebony & Ivory Candle Co.
Candle Refill Kits
Candle Refill Kits
Couldn't load pickup availability
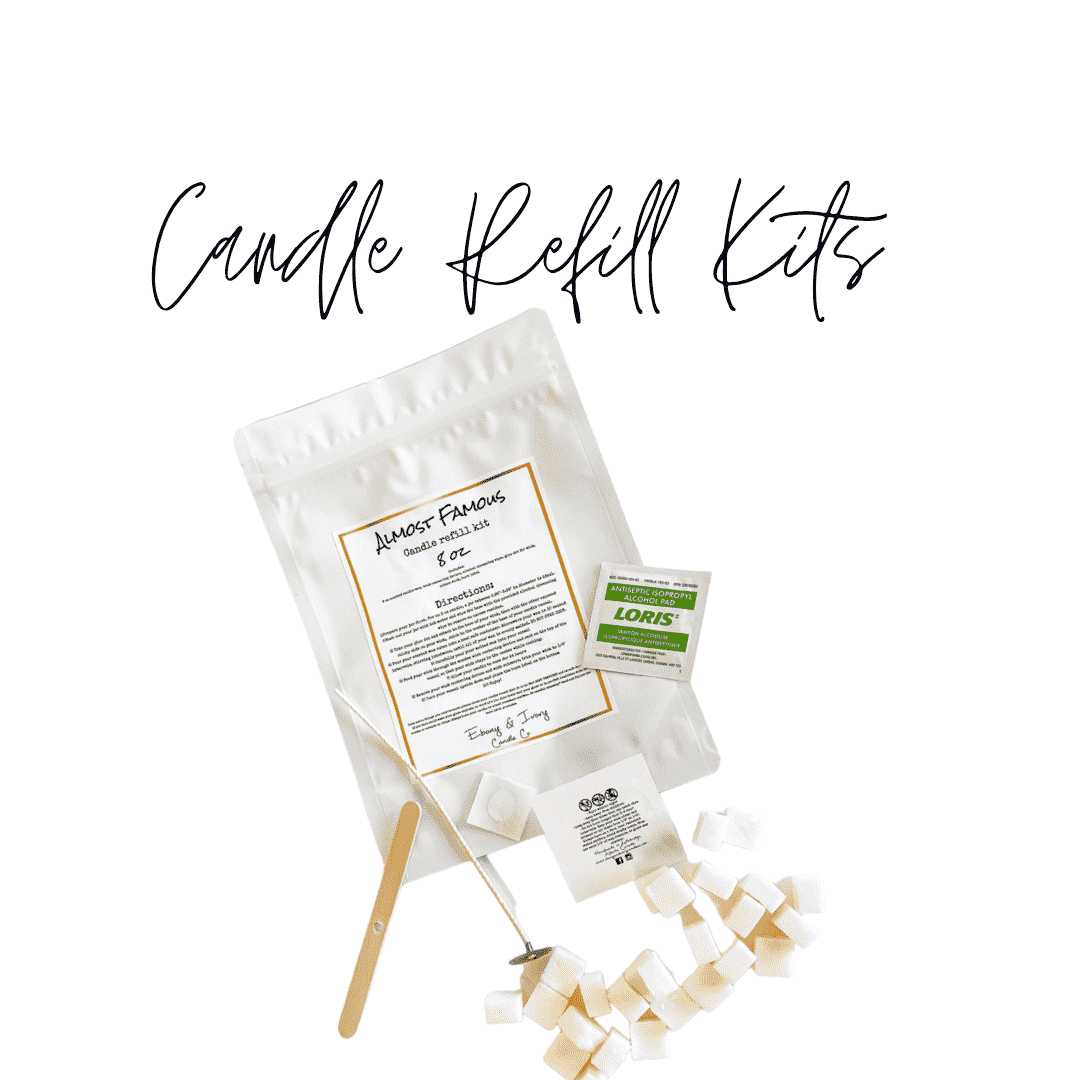
We've had a lot of people ask us how they can reuse their empty candle jars. And here's how you can do just that! These refill kits give you everything you need to refill your candle jars or to make a diy candle of your own in any heat tempered glass vessel!
Available in 8oz & 16oz size!
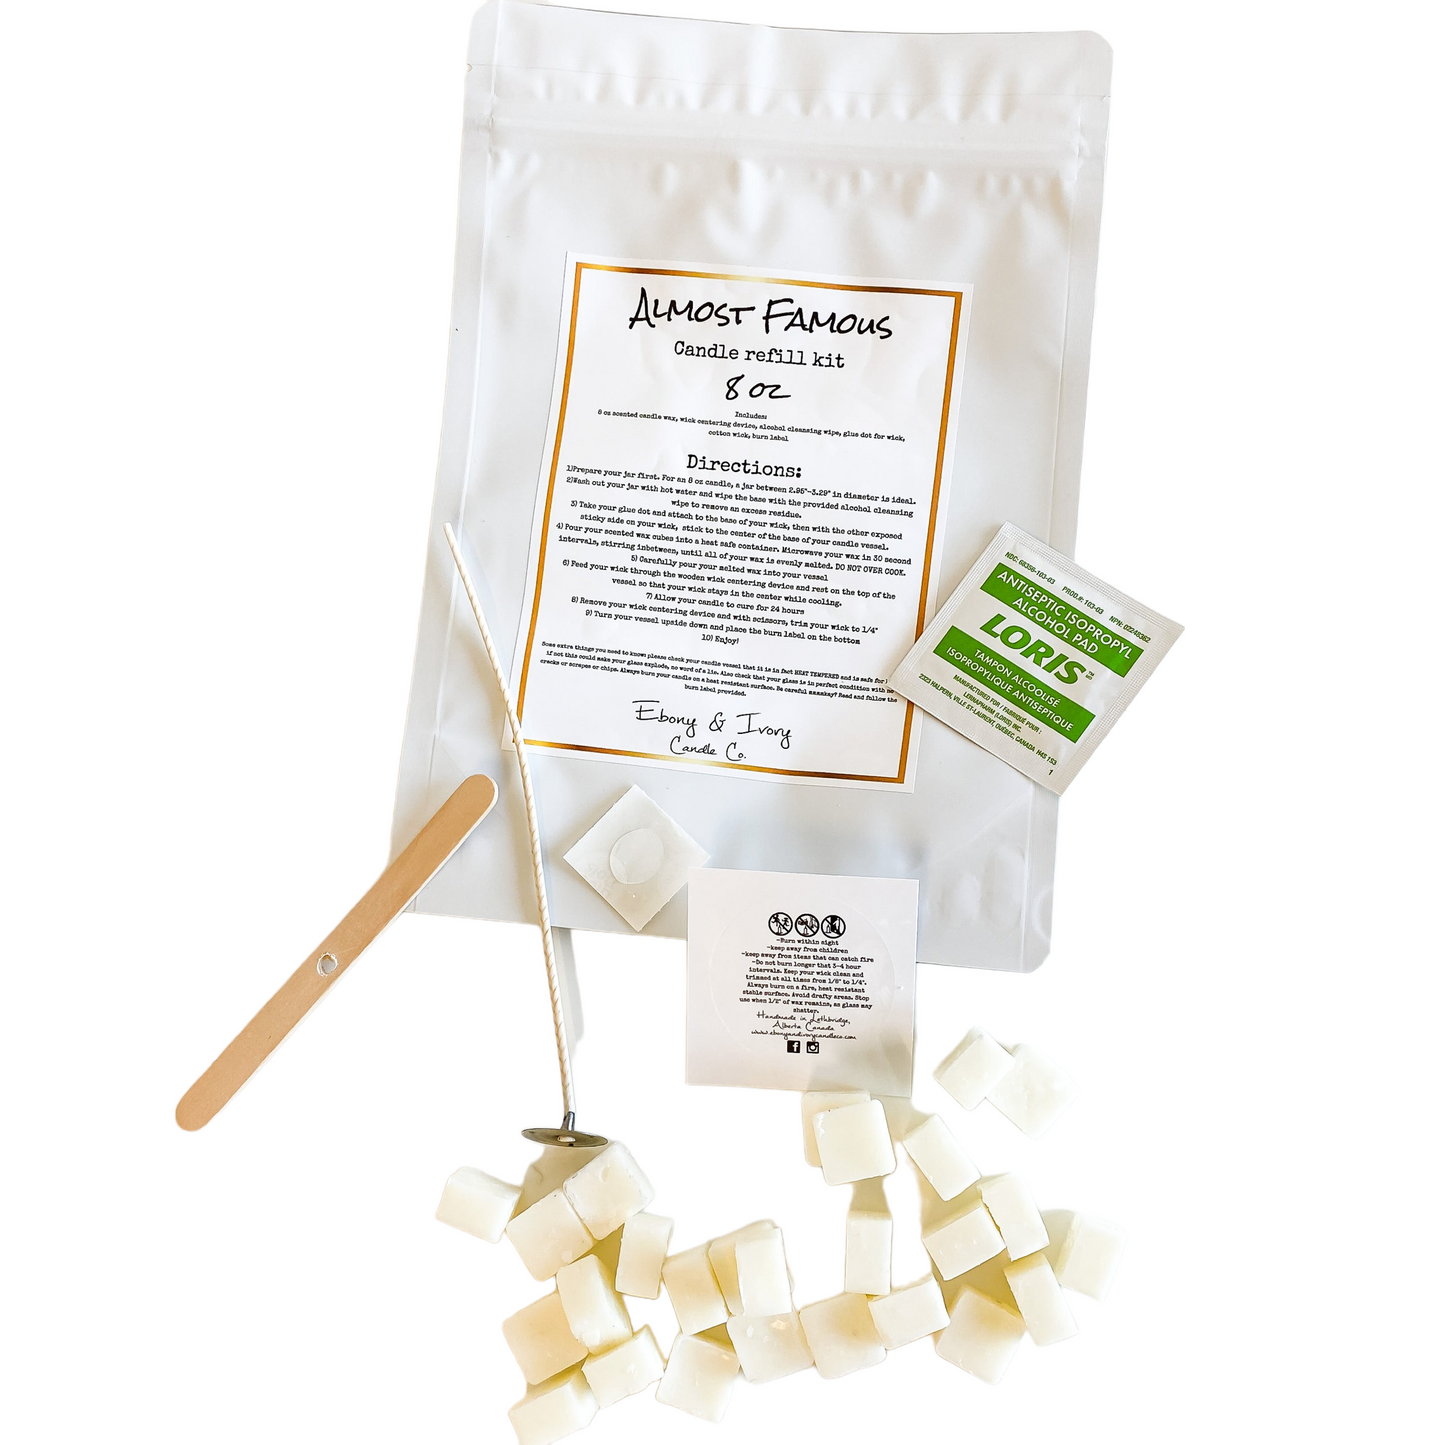
Each kit includes: scented candle wax, wick centering device, alcohol cleansing wipe, glue dots for wick, cotton wick(s), burn label!
YOU WILL NEED- A heat safe dish, a microwave (or stove to melt wax). If you want to use the stove, pour your wax cubes into a pyrex dish and place that dish in a pot of boiling water (like a double boiler) and melt your wax this way.
DIRECTIONS for 8oz candle:
1)Prepare your jar first. For an 8 oz candle, a jar between 2.95"-3.29" in diameter is ideal.
2)Wash out your jar with hot water and wipe the base with the provided alcohol cleansing wipe to remove any excess residue.
3) Take your glue dot and attach to the base of your wick, then with the other exposed sticky side on your wick, stick to the center of the base of your candle vessel.
4) Pour your scented wax cubes into a heat safe container. Microwave your wax in 30 second intervals, stirring inbetween, until all of your wax is evenly melted. DO NOT OVER COOK.
5) Carefully pour your melted wax into your vessel
6) Feed your wick through the wooden wick centering device and rest on the top of the vessel so that your wick stays in the center while cooling.
7) Allow your candle to cure for 24 hours
8) Remove your wick centering device and with scissors, trim your wick to 1/4"
9) Turn your vessel upside down and place the burn label on the bottom
10) Enjoy!
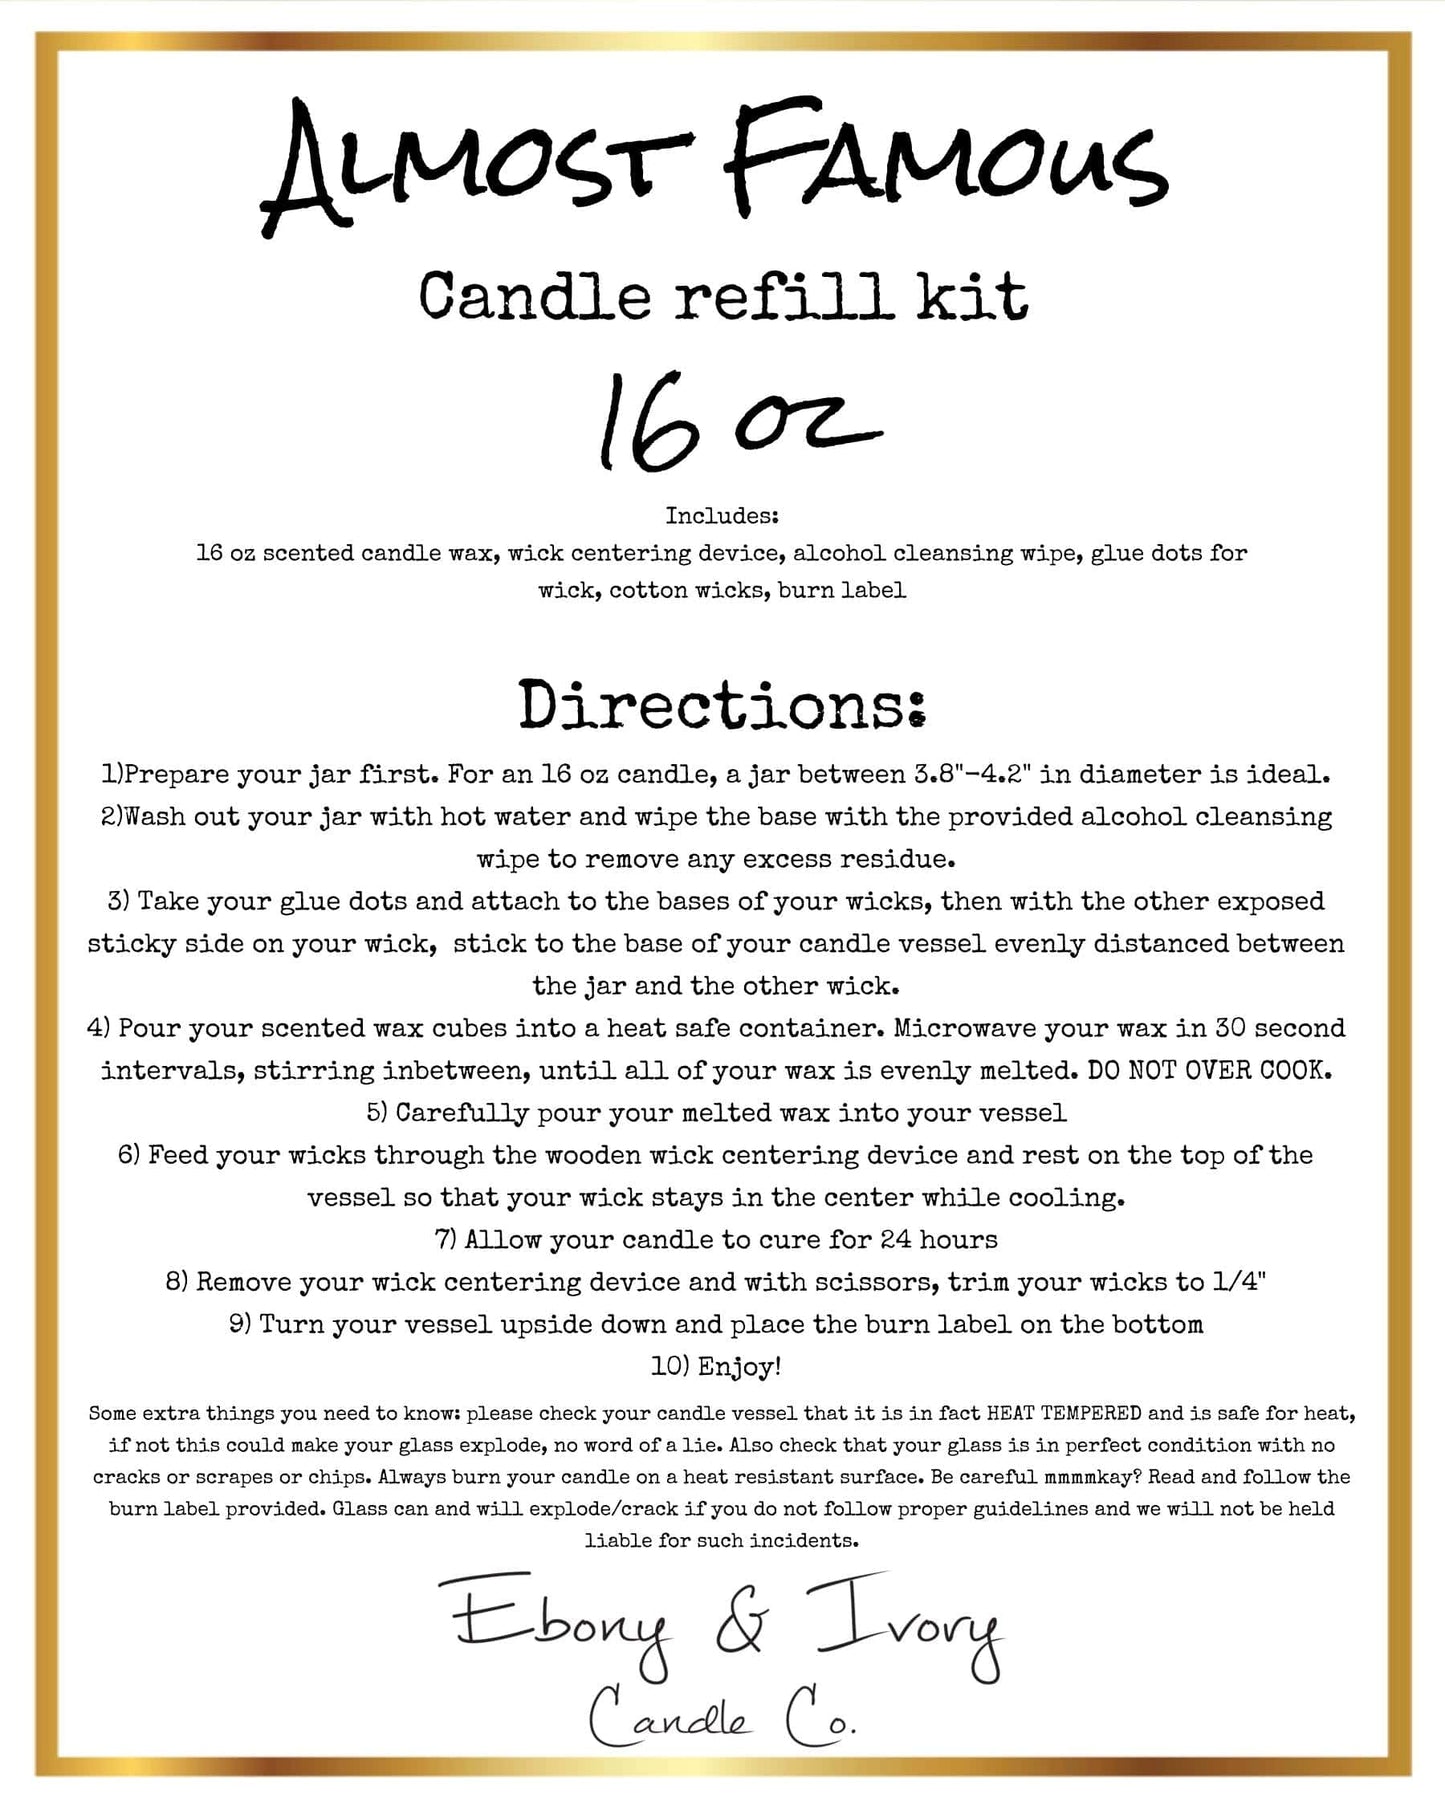
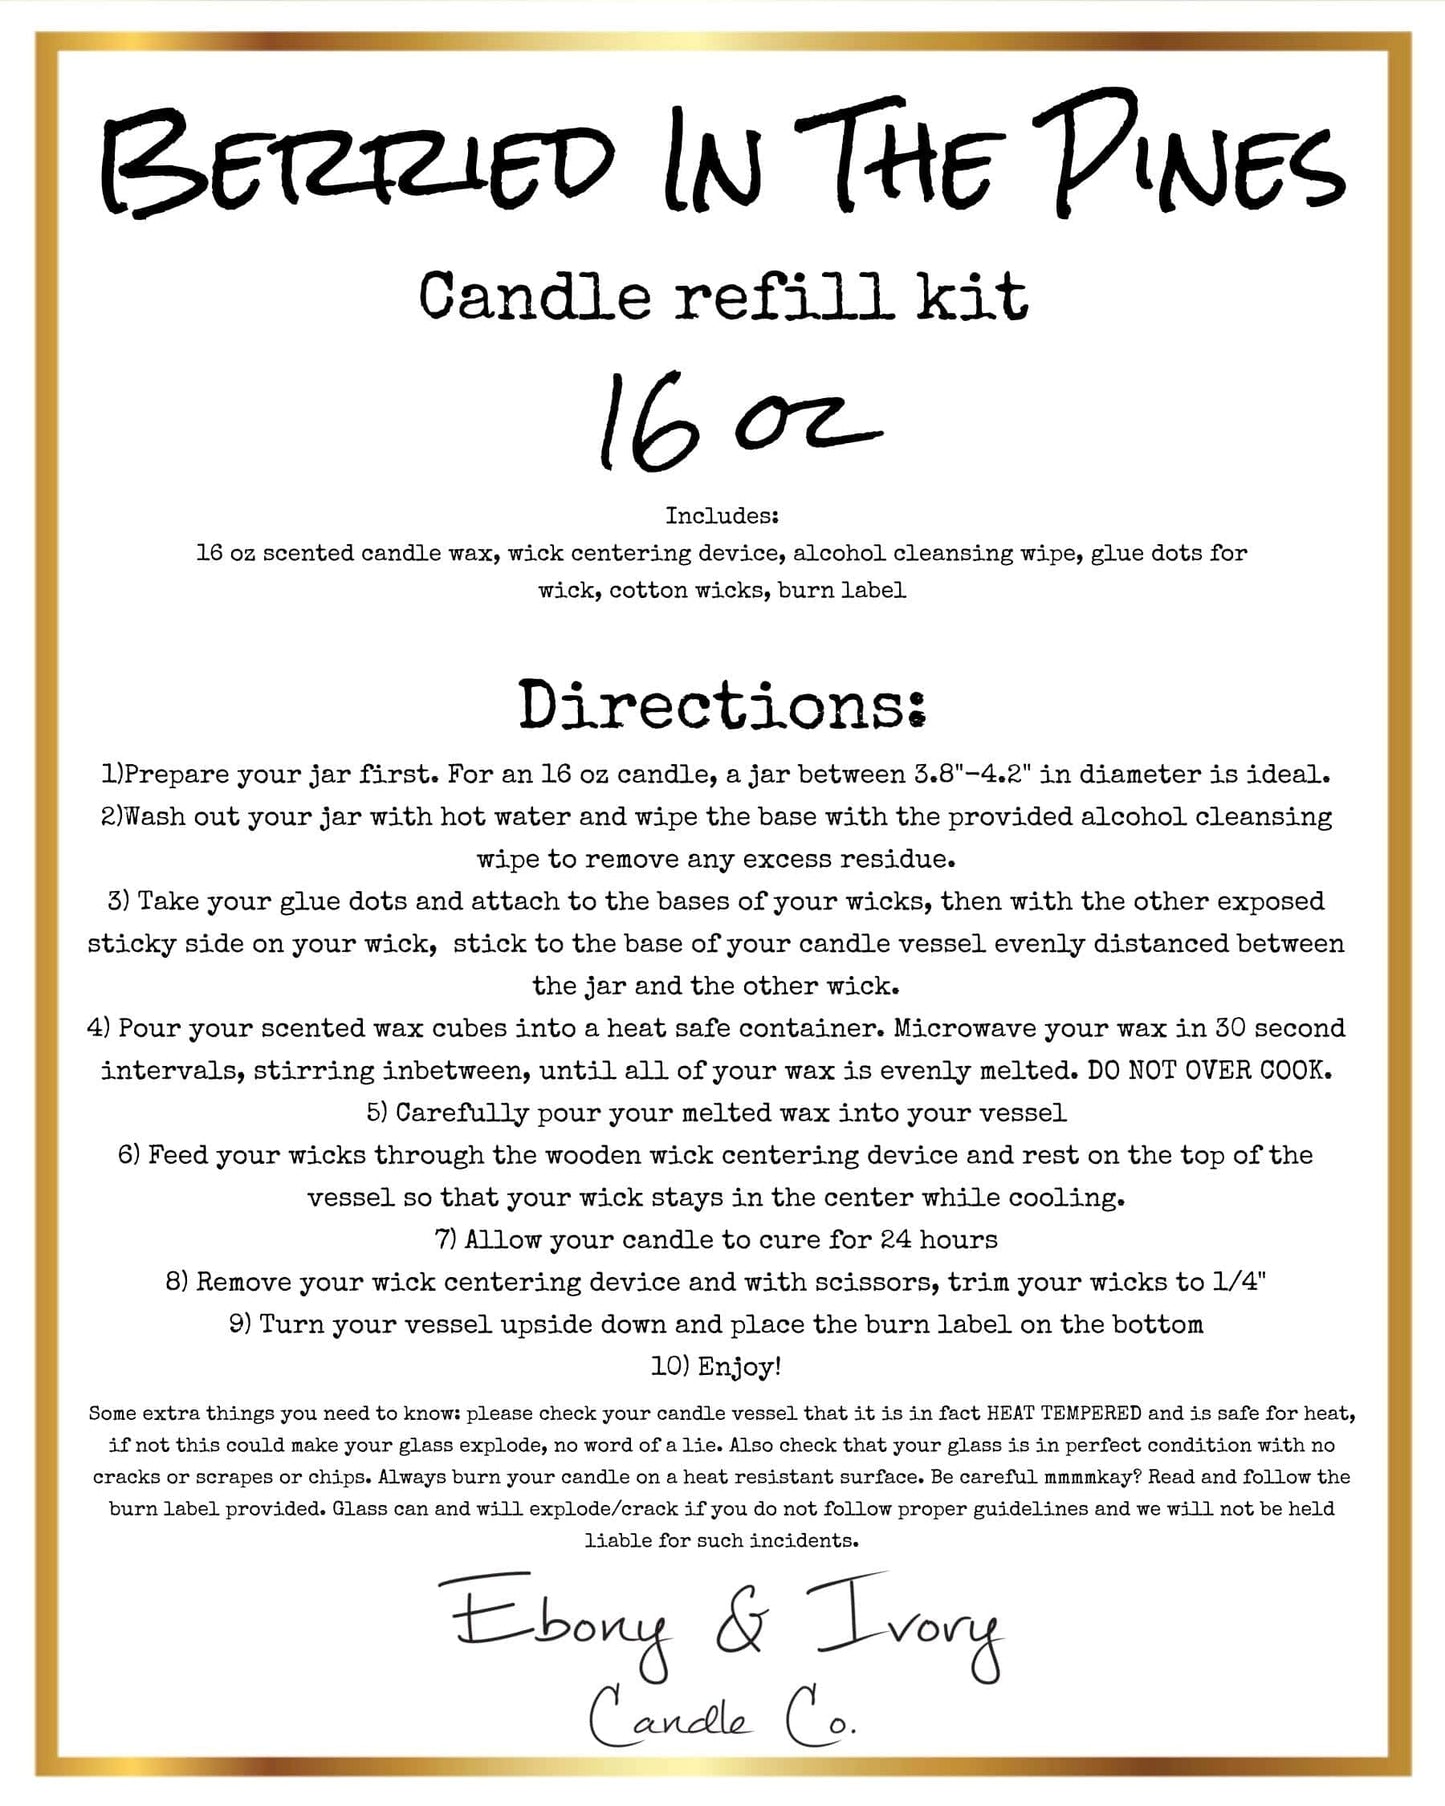
DIRECTIONS for 16oz Candle:
1)Prepare your jar first. For an 16 oz candle, a jar between 3.8"-4.2" in diameter is ideal.
2)Wash out your jar with hot water and wipe the base with the provided alcohol cleansing wipe to remove any excess residue.
3) Take your glue dots and attach to the bases of your wicks, then with the other exposed sticky side on your wick, stick to the base of your candle vessel evenly distanced between the jar and the other wick.
4) Pour your scented wax cubes into a heat safe container. Microwave your wax in 30 second intervals, stirring inbetween, until all of your wax is evenly melted. DO NOT OVER COOK.
5) Carefully pour your melted wax into your vessel
6) Feed your wicks through the wooden wick centering device and rest on the top of the vessel so that your wick stays in the center while cooling.
7) Allow your candle to cure for 24 hours
8) Remove your wick centering device and with scissors, trim your wicks to 1/4"
9) Turn your vessel upside down and place the burn label on the bottom
10) Enjoy!
Some extra things you need to know: please check your candle vessel that it is in fact HEAT TEMPERED and is safe for heat, if not this could make your glass explode, no word of a lie. Also check that your glass is in perfect condition with no cracks or scrapes or chips. Always burn your candle on a heat resistant surface. Be careful mmmmkay? Read and follow the burn label provided. Glass can and will explode/crack if you do not follow proper guidelines and we will not be held liable for such incidents.
Share




The refill kits are so easy to do! I've been really happy to re-use my candle jars and anything else I'd like to make into a candle. Fabulous product 👏
I love being able to pour my own candles and I love your candles but I am having trouble with curling wicks. I have ordered these lots before and have had the same problem with all of them. They curl and when I trim them each time I want to burn the candle they still curl. Maybe its from being folded in the plastic bag they come in?? I will still order these but the wicks are really annoying. You have a great product, just wish the wicks were better.
